Investing in Family: Make Your Own Chocolate Barrel Cake
I may have mentioned in an earlier post that my twin girls turned six this year. To mark the occasion, we had not one but two parties: a friends’ party and a party for the family. And because I’m crazy, I made (yes, made, not bought) two separate cakes. Now, I’m not much of a baker, and I’m not known in my social circle as a crafty-type individual. But even I have to say both cakes turned out pretty good. So, without further adieu, here’s a post about creating your own chocolate barrel cake so that you, too, can win friends and influence people. Or just supply a neat-looking cake for a special occasion.
Gather the Troops
No matter what color scheme or flavoring you’re looking for, you’ll need a few basic things for this cake. They are:
- 1 box of your favorite cake mix
- 1 really big can or 2 smaller cans of frosting (Or a big batch of homemade; whatever flavor, whatever color. I used canned chocolate.)
- A ton of Kit Kat bars (Okay, not a ton but probably at least eight of the individual, regular-sized wrapped kind you find near the grocery check out.)
- A large bag of M & M’s (You know, the kind that often says 10% more free and promises that you, too, might win some crazy contest they have going on...but it never happens.)
- A length of ribbon
What To Do With the Troops
Mix up the cake mix according to directions using two round 8-inch cake pans, well greased and floured. Cool them completely before attempting to remove from the pan (yes, I learned this the hard way).
Once cooled, take one round cake and put on a decorative plate. (My mom, who had a cake decorating service for many years, used to take sturdy cardboard and wrap it in smooth wax paper fastened beneath with masking tape; she then used this for the cake.) Place a good dollop of frosting on the middle of the cake and spread, then put the second round cake on top. Frost both of them. Here, friends, lies the beauty of this recipe: it doesn’t matter if you’re the sloppiest froster in the world – any crumbs or imperfections of these cakes are going to be covered up! And it’s going to look fab! Trust me.
Once you have the whole cake covered with a good layer of frosting, you’ll want to start arranging the Kit Kats around the outside of the cake. You can either break the Kit Kats into single pieces or break them in half, leaving two pieces together. Gently press the flat side of the chocolate bar into the frosting and place the next piece very close to it. Work around the cake until you have the outside covered; the pieces should stick above the cake about an inch or so. It will have a “barrel-ish” look.
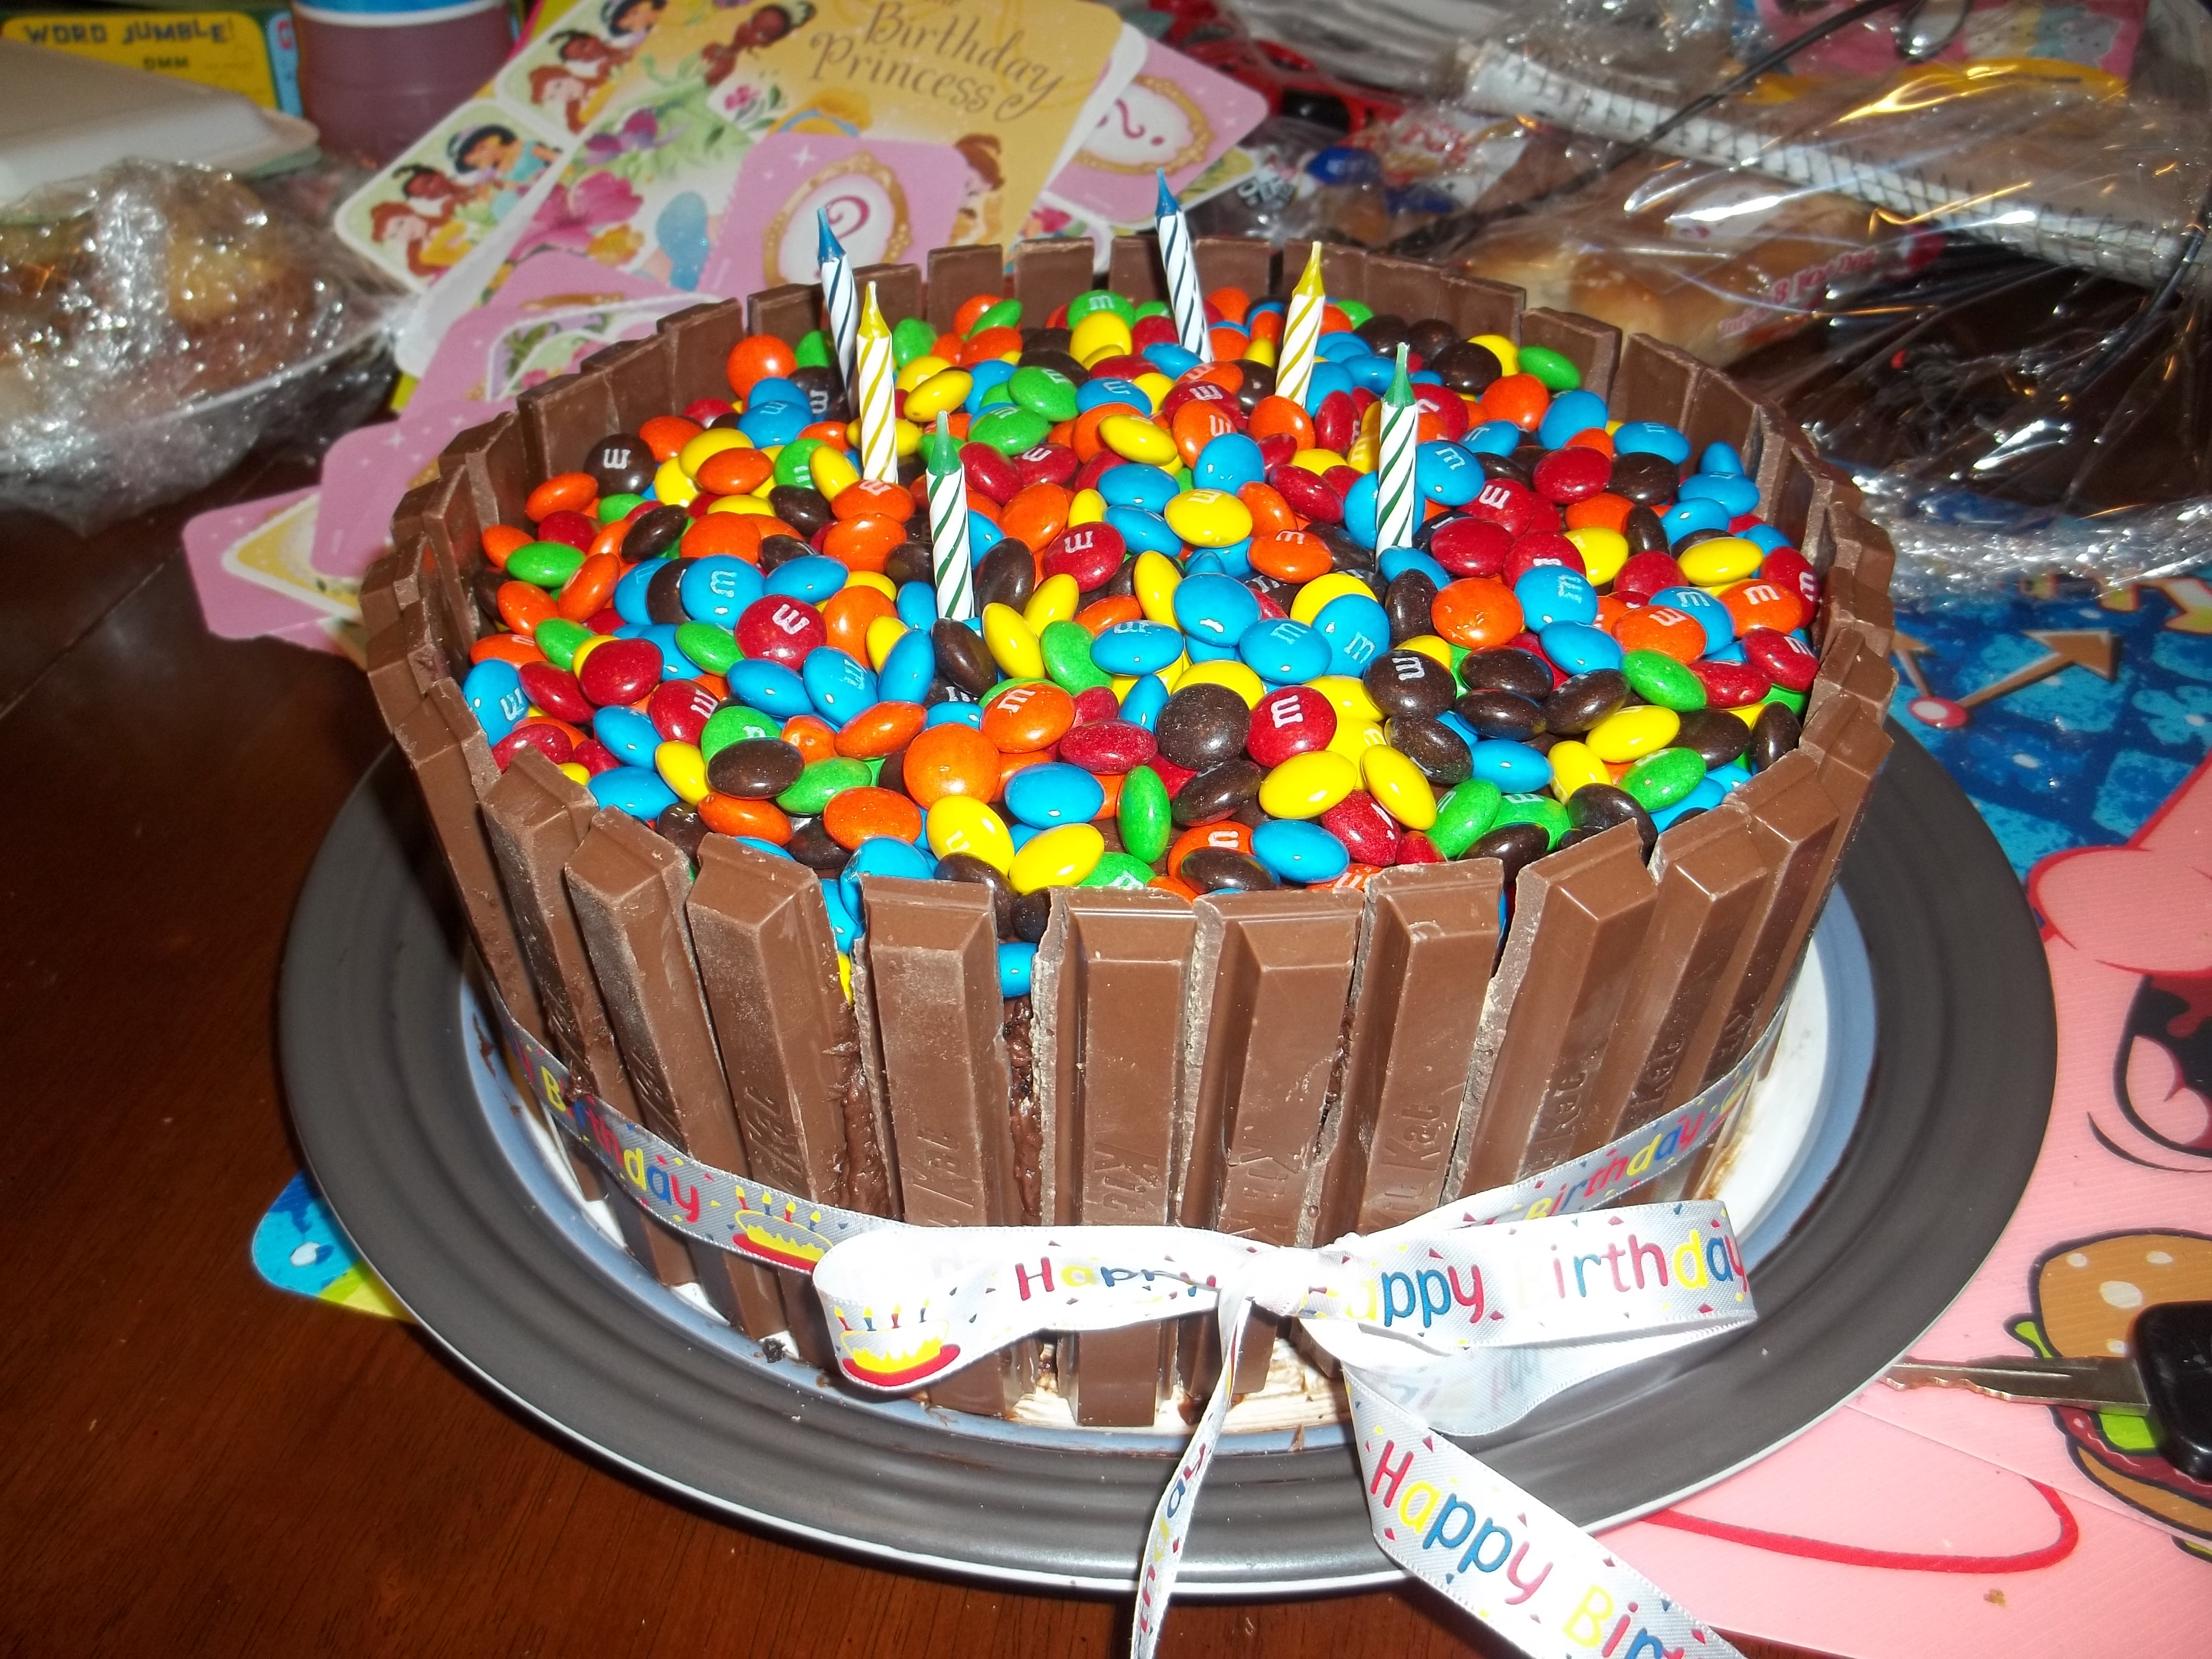
Believe it or not, you’re almost done. Next, take your pretty ribbon and tie it carefully around the cake. After that, open up your bag of M & M’s and pour them all over the top of the cake. Voila! You’ve just created a nice cake that will have any chocoholic drooling.
Variations on a Theme
Besides being pretty simple and not all that time consuming, this cake idea is nice because it can be changed up to suit just about any occasion. Add some candles for a birthday. Pop on a picture of a graduation hat or any number of commencement items and you have a cake perfect for a graudation party. Use a pretty velvet ribbon and red, green and white M & M’s for a Christmas themed cake. However you slice it – er, decorate it – this cake is a simple way to be a hit at your next occasion.
Photo Source: Melinda's beautiful (...and delicious...) cake.
- Login to post comments
-


Recent comments